Sometime ago, in a moment of impulse, I picked up a sizeable Early World War 2 German force in 28mm. Now in fairness to me, it wasn't quite an impulse buy as I knew TOOFAT Lardies were releasing their Blitzkreig 1940 supplement for their Chain of Command rules so to me it made sense to pick the Jerries up.
Until it then dawned on me that I didn't have any opposition for them.
So the Jerries have stayed in their carry case since their arrival, waiting for a worthy foe. However, hope was on the horizon as Christmas was coming up and a good selection of wargaming goodies can usually be expected to be delivered, so no better time than to decide on what army to ask Santa to bring.
Now those of you have read any of my previous ramblings will have surmised that my preferred go to army are the Brits, having forces, in 10mm, 20mm and 28mm, so you may have thought that I would have gone for a BEF force. Certainly that was my initial thought but, as usual, fate intervened and it was about this time that Warlord Games released their Battle of France for campaign supplement for Bolt Action and also released some new figures for their French forces along with a couple of army deals
So a quick note to Santa up the chimney (you all do that don't you?) and on the big day a whiff of garlic could be perceived coming from under the Christmas Tree...

So where to start? Well with the tank of course!
The Char B1-Bis had entered service with the French Army around 1936, replacing the Char B1, of which only a handful had been built. The newer model had increased armour and a more powerful engine. The hull of the tank was formed of cast sections, bolted together. The driver sat in the left of the hull and to his right was the fixed traverse 75mm cannon, which the driver operated. The turret was armed with a 47mm cannon and a 7.5mm machine gun. Another 7.5mm machine gun was located in the hull. The tank had a crew of 4 with a loader, wireless operator and commander in addition to the driver. The design, however, did suffer from a common flaw in French Tank design of the time in that it had a one man turret meaning the commander had to not only command the tank but load and fire the turret weaponry as well.
The B1-Bis was heavily armoured and when the invasion of France began, the tank could withstand fire from most of the German anti-tank weaponry of the time, with the exception of the 88mm flak gun, which the Germans also used in the anti-tank role. However, the tank was slow and the German Blitzkrieg tactics did expose this lack of manoeuvrability. It did impress the Germans enough, however, that after the surrender of the French forces the Germans made use of an number of the remaining B1-Bis, with some being converted into flamethrowers, the B1-Bis (Flamm). But I wasn't interested in such turncoat conversions, I needed the tank to support the brave infanterie resist the Boche.
So what's in the box?
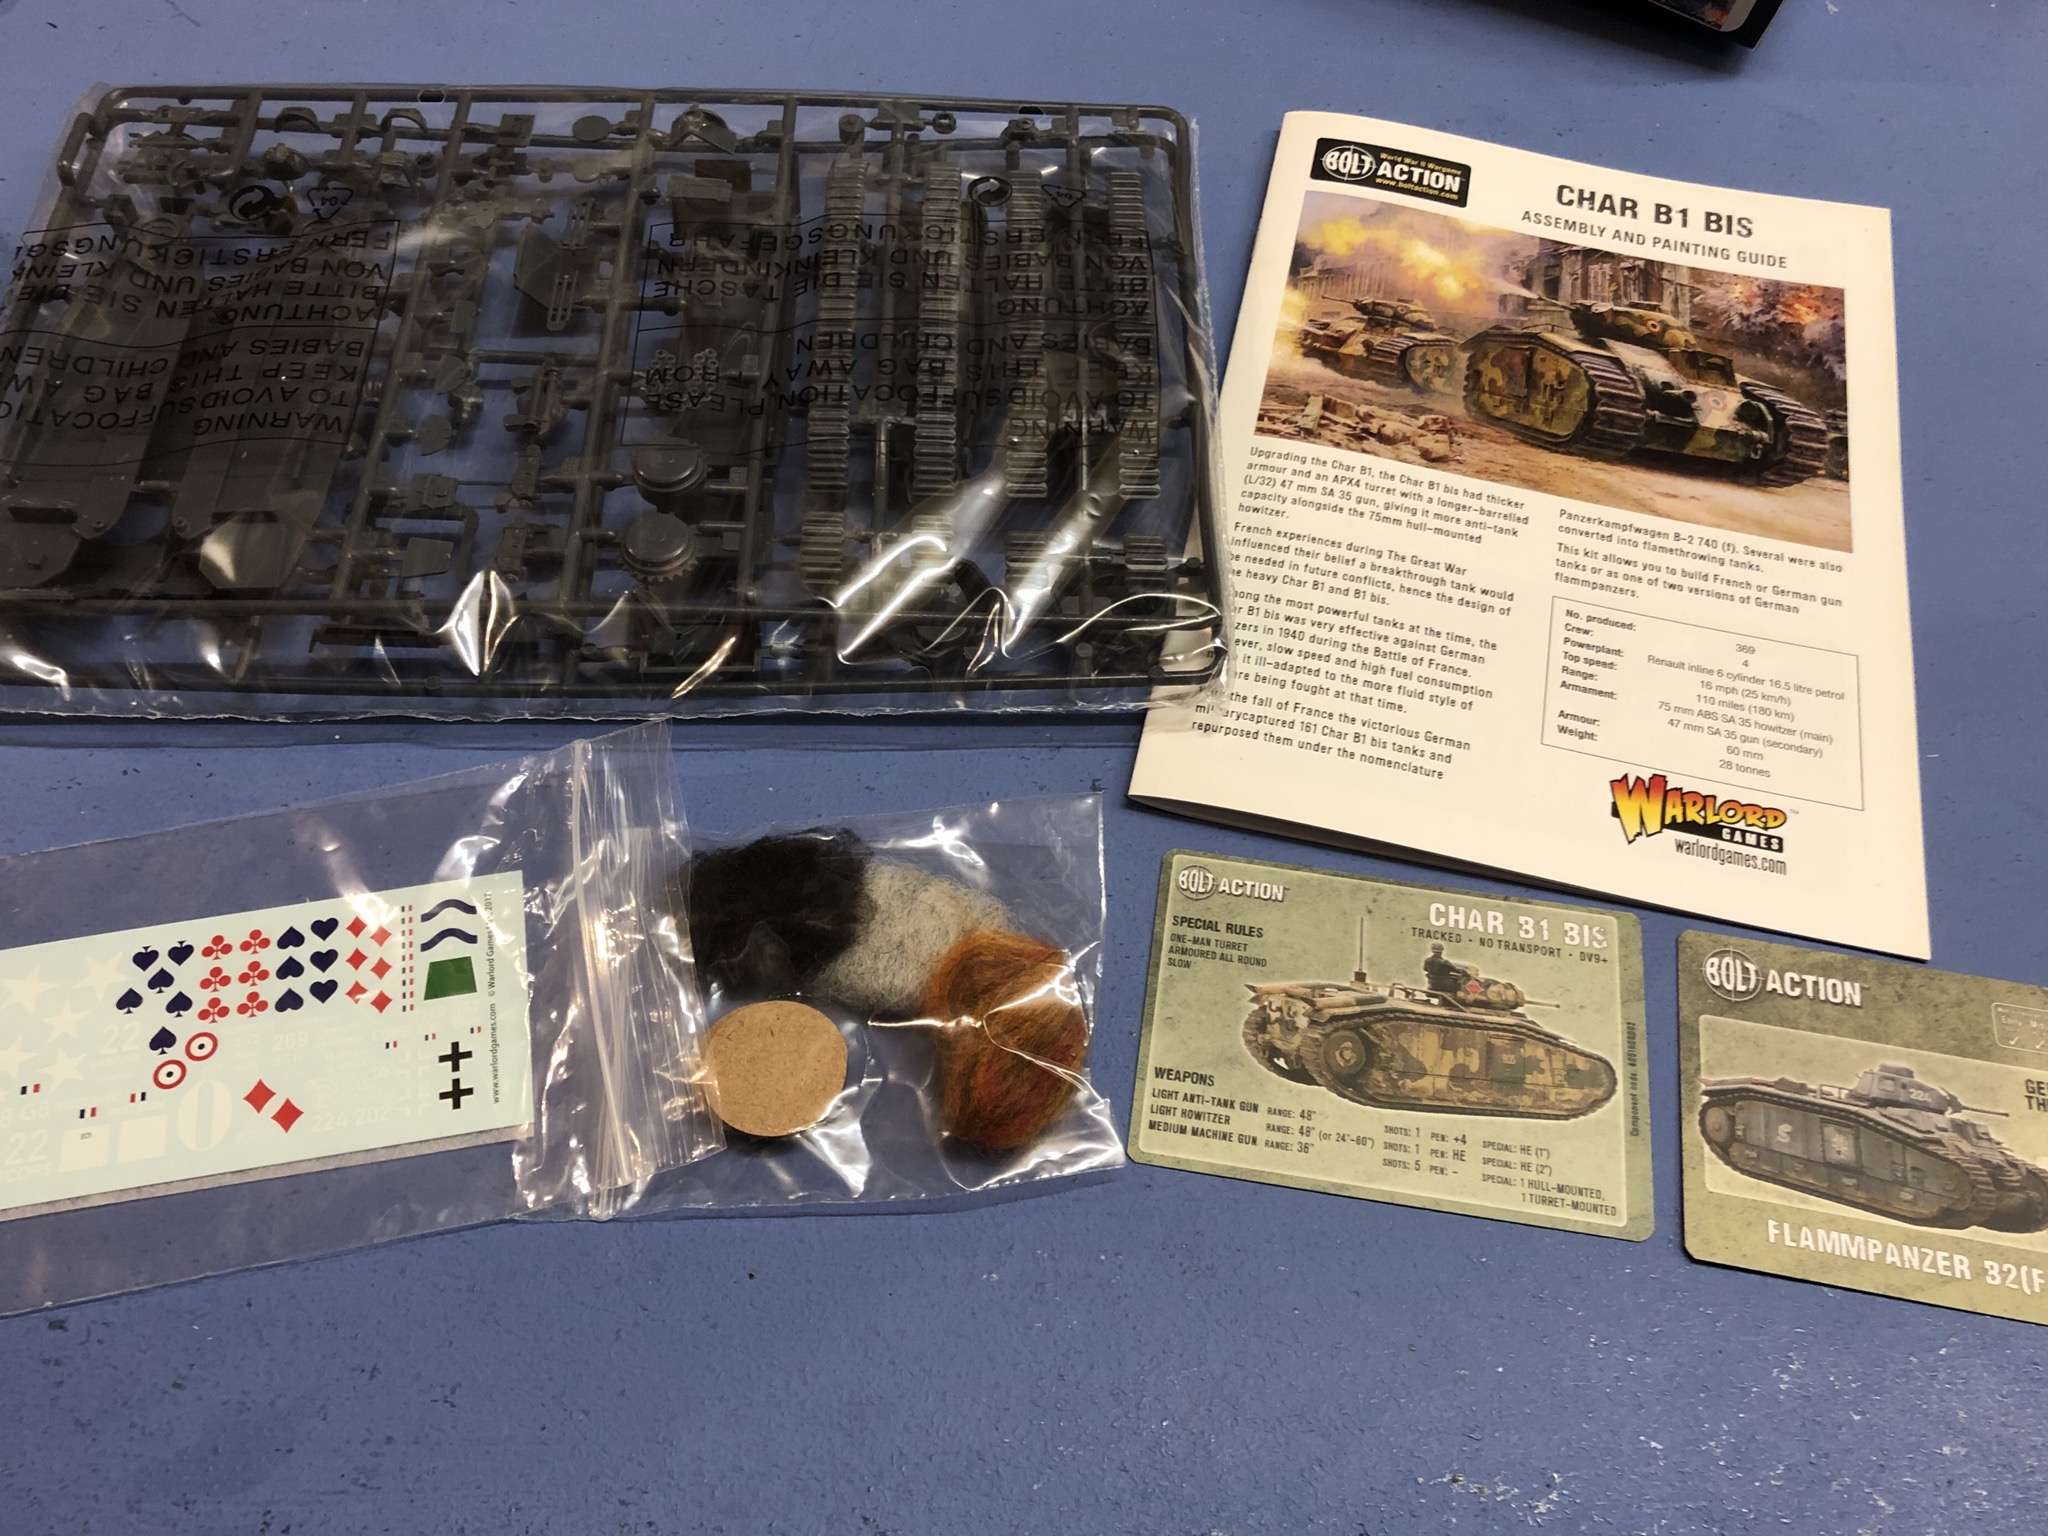
An instruction booklet, two plastic frames of parts, a decal sheet, some data cards for Bolt Action rules and some damage markers (are they trying to tell me something?).
Some helpful advice
First up, the track assembly. Now I'm a lazy model maker but I'm also an impatient model maker as well and unless I take time to check the parts over and do a dry run then disaster has been known to happen when I find out I've stuck the wrong bits together. So it was helpful to see little helpful things like -
The hole in the sprocket wheel is shaped so that the inserted peg can only fit one way.
Helpful inserts for the track pieces to connect in to.
Track piece with the corresponding connector pegs
The completed track assemblies.
On to the next page!
As I was building the French version, there were only a couple of drill holes I need to make on the hull. The main gun assembly went together pretty easily.
Now to join the track assemblies to the hull. Again some helpful little connectors to make it obvious where the pieces are supposed to fit together -
Now starting to look like a tank
The next section - a number of options here depending on the model you are making - the French version is on the top of the page. Note for the German options the part numbered "56".
Now the turret and the commander!
The French Commander showing you need hands
The turret hatch door shown open or closed. However, there is a wee typo - the opened version should be numbered "58". Also note the parts numbered "4" - these are little hooks (grab handles?). Anyway they are tiny and the first one typically pinged off in to the ether when attempting to glue it on.
The finished model!
A fairly straightforward kit. Warlord used to make the kit in resin and I'm not a great fan of resin models so it was certainly much better in my mind being a plastic kit. Just a couple of fiddly bits during the build - making sure the top and bottom parts of the hull joined together without leaving a gap, the chain hanging off the back of the tank - make sure you give the hooks that it hangs from plenty of time to glue in to place and, those damned fiddly hooks on the turret.
I've also picked a model of the Somua S-35. It's a resin model though so I think I will try painting up some of the infantry first before I try tackling that.