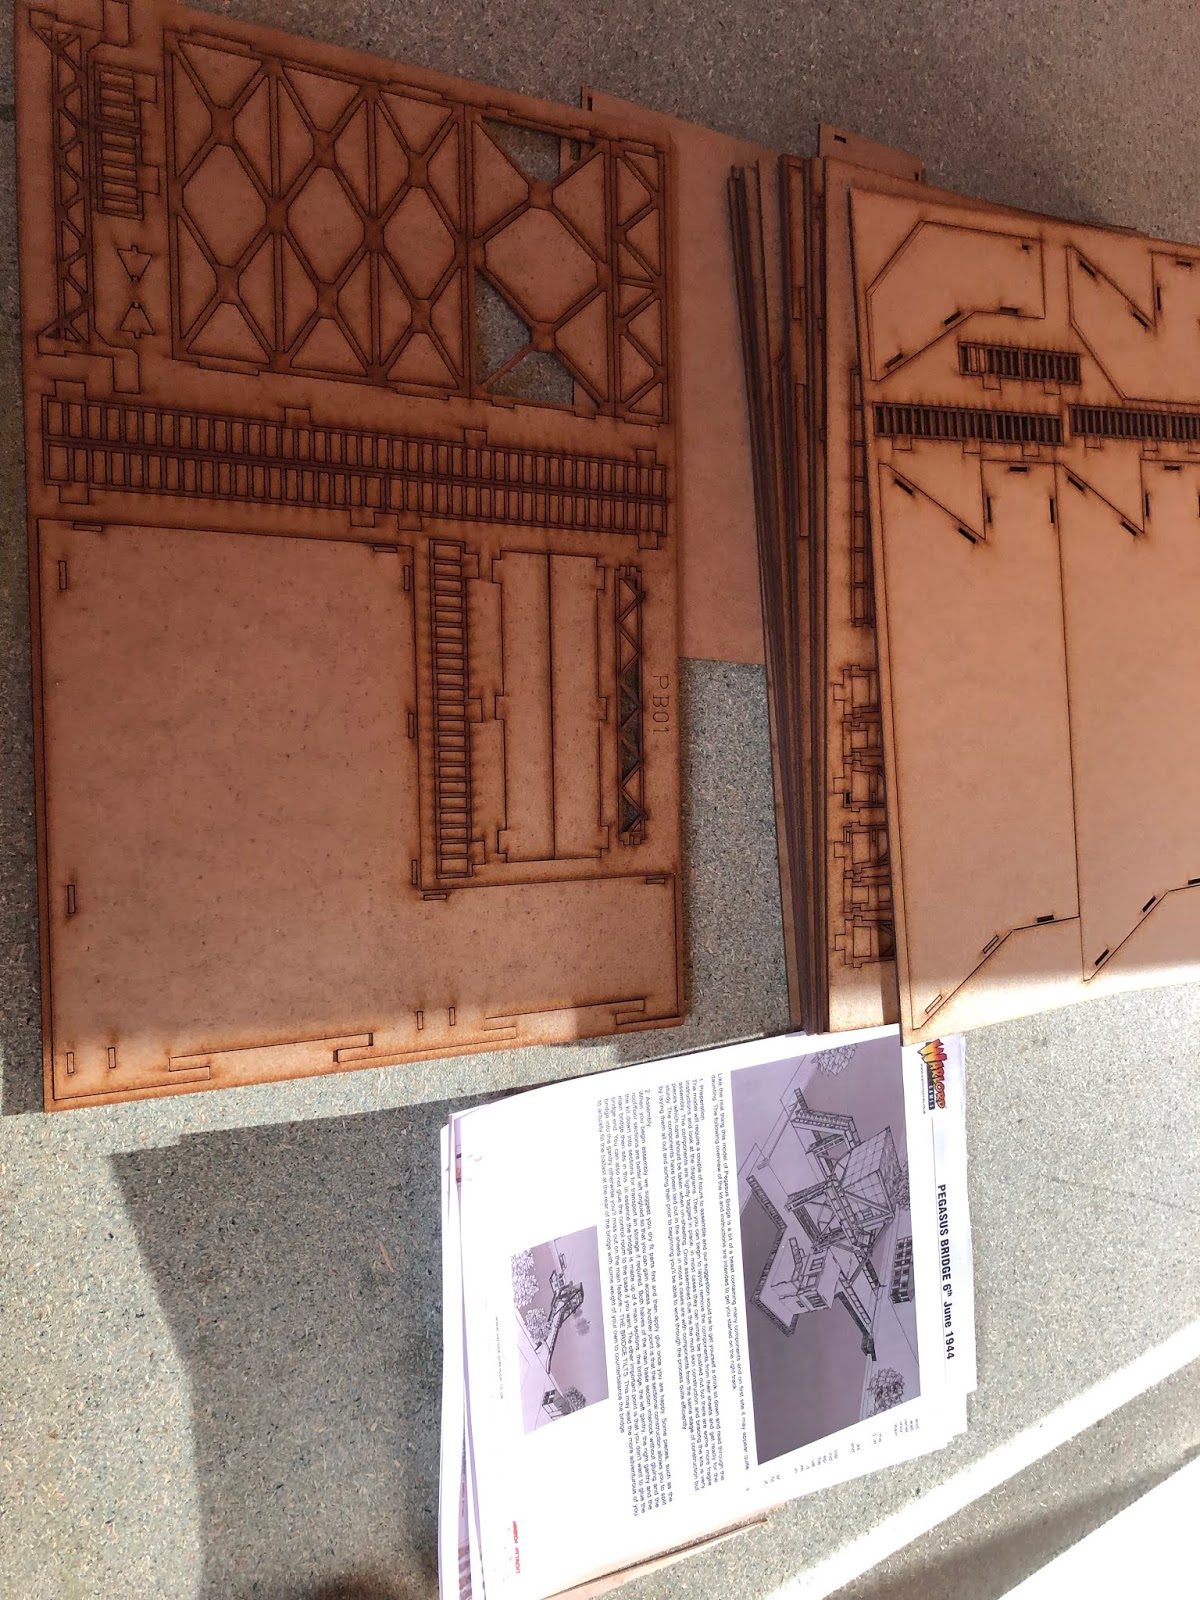
So Roo was keen to play more miniature games, as well as more hex and counter games, in fact, just keen to play MORE games and that's fine by me.
Bolt Action, as most of you probably know, is a set of rules for recreating WW2 battles. Written by Alessio Cavatore who has many rule sets and board games to his credit and published by Warlord Games and Osprey Publishing, it is now in it's second edition, which was released in 2016. The rules have also spawned a number of army list books and campaign supplements -

Currently it is the WW2 rule set of choice for the THAGGers (although some of us in the past have played Rapid Fire when we were still going up to the Kirriemuir Wargames Club) and, if you read the previous blog post we have played What A Tanker, but that is just for playing with tanks. We also started playing BA in 20mm but, as is usually the case, Kev persuaded us to all paint up 28mm forces in order to take part in a tournament that was being run by the Dunfermline Wargames and Roleplaying Fellowship (or D.W.A.R.F for short) back in November 2016, and so we have stuck with that scale since.
The rules are based on a unit order system involving pulling dice out of a bag and the player whose dice has been selected then allocating one of 6 different orders (advance, move, fire, ambush, rally and Down) to a unit of their choice. Combat is based on a d6 with various modifiers being applied and, if a hit is scored, the quality of troop will determine what score on a d6 is required to score a casualty (veterans take a casualty on a "5" or "6" - inexperienced units take a casualty on a "3", "4", "5" or "6". Units that have taken fire suffer pins and each pin that a unit has will deduct 1 from any morale roll that the unit has to make, with again the quality of troop type determining how likely the unit will pass on a 2d6 roll (veteran units require a "10" or under, inexperienced units need an "8" or under). It's a "bucket of dice" type of game and there is nothing wrong with that in my opinion. Combat can be fast and brutal if you are rolling well and you can have the frustration of not being able to do anything whilst your opponent's order dice all get pulled out of the bag before yours.
BA, being a points system type of game, does lend itself to a tournament style type of game, where non-historical match ups can be played out on the table - there is nothing new in that. Tournament Gamers are well used to facing all sorts of non-traditional opponents from the early days of WRG rules when the Early Libyan Army could face off against a 100 Years War English Army and certainly in the aforementioned tournament in Dunfermline, my Late War British Army fought a Japanese Force, a Russian force and a Russian Black Sea Naval Marine force. My preference, however, is to try and play games with historical opponents and so it was for my first couple of games with Roo we stuck to that approach with our first game being a clash somewhere in Normandy between the British and Germans.
Also, being a point based system, there can be a tendency for players to try and pick the "killer" list with units being selected, not so much because they fought together in a typical force of the time, but because it will generate the maximum number of order dice and firepower. My force picks are very much determined by what available figures I have, and, where I think there is a reasonable explanation for a unit being in the list so, for example, my Late War British List includes a couple of British Paratroop sections with my justification being that in Normandy there where occasions that the Paras fought together with the normal infantry units.
So the table was set for our first game (actually it was the same table that we used for our What A Tanker game - we hadn't bothered re-setting it). A quick roll on the scenario selector table confirmed we were going to play the "Key Positions" scenario - each player would place a number of objective points on the table and the player holding the most number of objectives at the end of the game would be declared the winner. The resulting rolls determined that there would be 6 objective points and once placed we rolled off to see which table edge we would each start on.
We each could decide to keep up to half of our units in reserve. I, however, decided to bring all my units on to the table, Roo elected to keep his MMG team, mortar team, half track and a squad of infantry in reserve.

British Paras taking fire from the dreaded Panzer IV-F2
One of the rules that caused a lot of debate and discussion when the 2nd Edition was released is the "Tiger Fear" rule. If a German Tank with this special rule is on the battlefield then any time an enemy unit wishes to take an order that is not a fire order directed at that particular tank then they have to take a morale test to carry out that order and suffer a -1 penalty in addition to any other modifiers that unit currently has. The Panzer IV-F2 benefits from such a rule and as soon as it appeared on the table it became priority target No.1 for the Brits. My Cromwell tank rushed on to the battlefield -

Fired and missed!

Positions at the end of Turn 1

The Brits have claimed 1 objective, another is located in the wooden building.

Only infantry units can claim objectives so the Cromwell can't claim that objective on the road
However, a stroke of good luck for the British when the Panzer, having taken 1 pin, tested to see if it would carry out it's next order -

FUBAR!!!
Fortunately for Roo, the Panzer did not shoot up it's nearest friendly unit, but instead went in to reverse. However, it was still on the battlefield and still able to cause Tiger Fear with the result that a unit of Paras and an Infantry Section both failed their morale check (along with the Second Lieutenant) -


However, the Cromwell tank commander was not going to be denied his kill and with the Panzer in his sights he opened fire -

No more Tiger Fear!!
On the right flank, one British Infantry section moved in to the wooden building and claimed the objective there, while the other units advanced across the road -


The British Forward Artillery Observer picks his spot for the artillery barrage, meanwhile a German Infantry Section has entered the building and claimed the objective there.

The German Mortar Team moves in to the vine groves to claim the objective there.

Whilst on the German Right flank, the MMG team ignores the distressing sight of the wrecked Panzer to take up position and rain a hail of bullets on any Brits trying to claim that objective.


The German Mortar Team having being disabled by accurate British Sniper fire is quickly replaced by the half track and accompanying Infantry Section

The Infantry manage to debus from the half track just in time as a well aimed shot from the British 6lb anti tank gun resulted in this -


However, the German Infantry extract their revenge on the British Infantry sheltering (unsuccessfully) behind the wall.

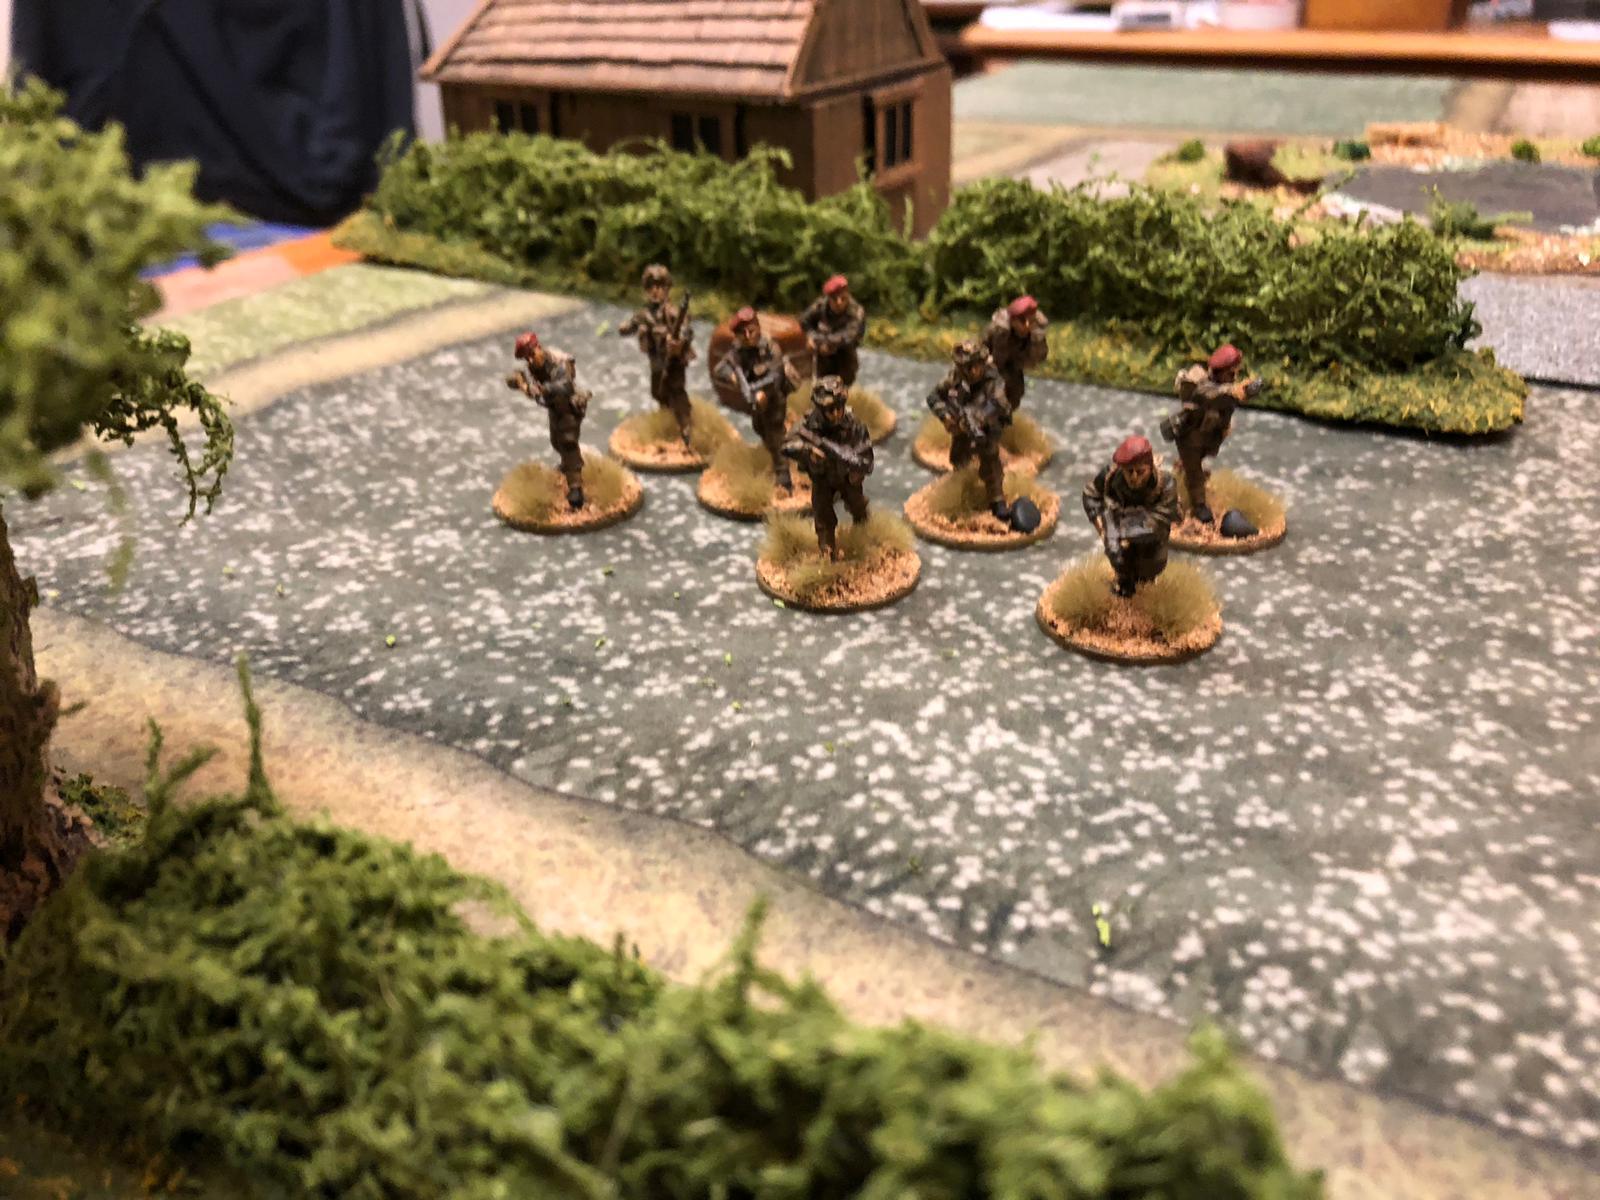
A sight to cause fear in any foe - advancing British Paratroopers
In the meantime, the Cromwell, instead of opening fire on the MMG team decides to try and overrun them -

The MMG team evade the overrun and the Cromwell is left staring at the burning wreck of the Panzer IV. The MMG team continue to score casualties on the Paratroopers advancing a cross the field -

Keeping their heads down to avoid the German MMG fire

The British now hold 4 of the objectives as the battle enters it's end game

The Germans in the building continue to hold the objective despite the continual fire of the British Vickers team and some HE from the 6lb gun

Paras getting ready to assault one of the German held objectives
Although the game went in to a 7th turn the Germans were unable to capture a 3rd objective so the Brits held on to win the game 4 objectives to 2.
So Roo proclaimed that despite losing, he enjoyed the game and the rules. He had already started to build figures for a Finnish Army (which is all very well but I don't have any Soviets!) so will be hoping at some point to bring them to the table
So next up will a battle report on an 8th Army v D.A.K match up but that'll have to wait for another day as it's late here and I'm zzzzzzzzzzzzz..........